


When the upper plastic radiator tank on the 1st-generation Honda Fit (2003 to 2008, CVT automatic) starts to dry out, turn yellow, and develop hairline cracks around the hose neck, it is only a matter of time before a major leak opens up in traffic. In this complete technical guide — based on a real 42-minute procedure in Paulo's garage — we show exactly how to disassemble the front of the car, handle the CVT transmission heat exchanger lines, pressure-test the new radiator on the bench before installing, and monitor the thermostat valve opening with a scanner at 91 °C.
Even more valuable: the video records uncut the prior attempt to replace only the upper plastic tank (~R$ 120) vs. replacing the complete new radiator (~R$ 444 Pro Cooler for automatic) — proving in practice why, on radiators whose plastic is already crumbling to dust, going straight for the complete radiator saves time, rework, and the risk of leaks at the re-crimped tabs.
Critical Garage Warnings for Radiator Replacement (Honda Fit CVT)
- 1. The Fit radiator comes out through the front (remove the bumper and crossmember): Do not try to pull the assembly out from behind inside the engine bay — there is a structural reinforcement and not enough clearance for the cooling fans and the reservoir bolt. Removing the bumper and front bar (12 mm bolts + horn) frees up full access.
- 2. Watch out for Automatic CVT vs. Manual model: The automatic Fit radiator has the two lower CVT fluid heat exchanger tubes built into the lower tank. When disconnecting these hoses, the raised neck minimizes fluid loss, but you should still check the CVT fluid HOT level after the job.
- 3. Bench pressure test BEFORE installing the new radiator in the car: Pressurize the new radiator with compressed air below 1,0 bar (the original cap opens at 1,1 bar) and wait ~2 hours watching the pressure gauge. It is your absolute guarantee against a factory defect before reinstalling the bumper.
- 4. Be careful when attempting to replace only the upper plastic tank: If the original plastic is already brittle and turning to dust, bending the aluminum tabs by hand can score or crack the core — replace the entire radiator whenever possible.
Key procedure moments in the video
 ▶ 00:15 Crack in upper tank and disassembly
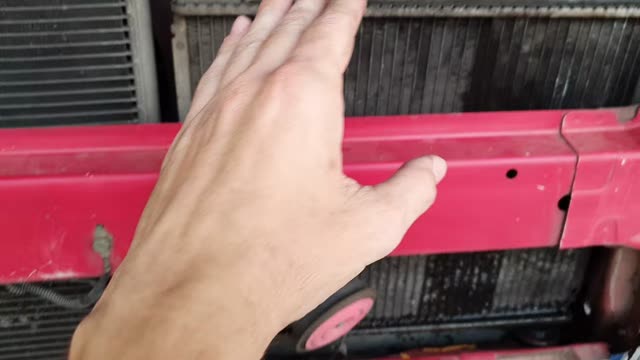 ▶ 05:20 Bumper off and CVT hoses
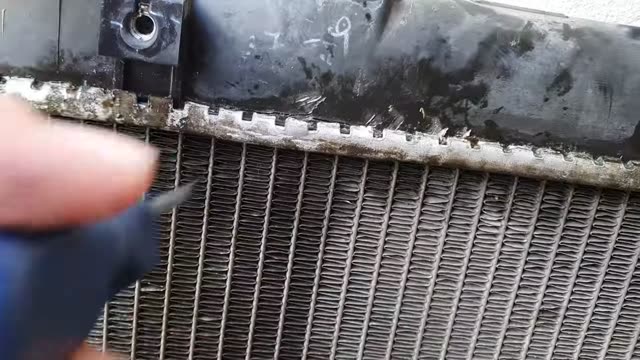 ▶ 10:20 12 mm crossmember and radiator removal
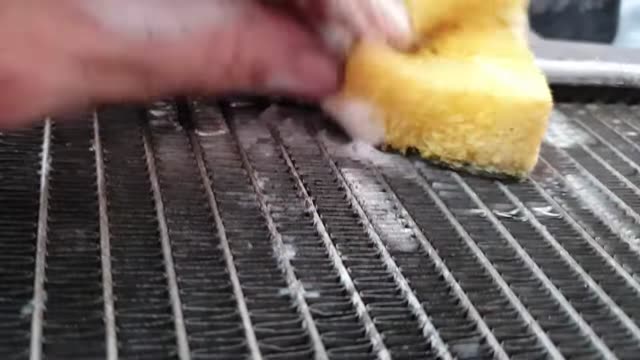 ▶ 27:30 New radiator + ~1 bar test (2 hours)
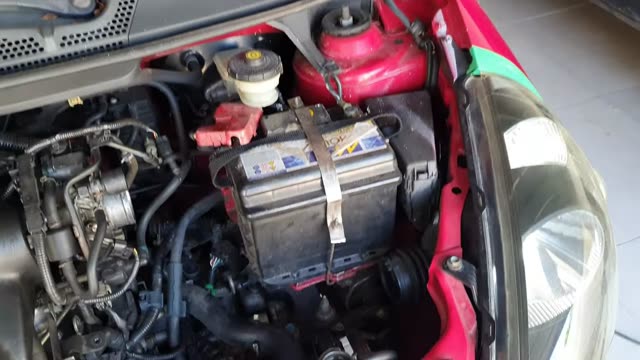 ▶ 38:00 OBD scanner: thermostat opening at 91 °C
Quick Table of Specs, Pressures, and Tools (2004 Honda Fit)
Scroll horizontally to see all table columns.
| Technical Parameter | Official / Real Specification | Practical Garage Note |
|---|---|---|
| Honda radiator cap pressure | 1,1 bar | In the bench test, apply below 1,0 bar (~0,9–1,0 bar) to check for leaks without stressing the core |
| Thermostat valve opening temperature | ~91 °C to 92 °C (confirmed on scanner) | The lower hose stays cold until ~91 °C and only then begins to warm up slowly |
| Front bar / crossmember bolts + horn | Wrench 12 mm | Remember to unplug the horn ground wire before pulling the front bar aside |
| Upper radiator mounting and brackets | Wrench 8 mm / 10 mm | The base of the radiator simply rests on 2 lower rubber bushings (no bottom bolts) |
| New radiator used in the video | Brand Pro Cooler (Automatic Transmission version) | Cost ~R$ 444 with shipping; OEM-grade finish with integrated CVT cooling coil |
Tools and Parts Checklist
Scroll horizontally to see all table columns.
| Item / Tool | Specification | Role in Procedure |
|---|---|---|
| Socket / Combination Wrenches | 8 mm, 10 mm, 12 mm | Remove upper radiator brackets, air filter box, front crash bar, and cooling fans |
| Locking Pliers + Needle-Nose Pliers | For OEM spring clamps | Release factory clamps on the lower hose and both CVT lines without damaging the nipples |
| Clean Drain Pan | Minimum 5 liters | Catch the old coolant from the drain in case it is fresh and can be reused or disposed of properly |
| Compressor + Pressure Gauge + Adapted Hose | Test at ~1,0 bar | Pressurize the new radiator on the bench for ~2 hours before final installation |
| OBD-II Automotive Scanner | ECT readout (coolant temperature) | Monitor the real curve (70 °C → 81 °C → 91 °C) until the thermostat opens and the fan kicks on |
Step by step — Start: Front Disassembly, CVT Lines, and Radiator Removal
Draining, Air Filter Box, and Front Bumper Removal
With the engine cold, remove the air filter housing (for easier access to the upper neck) and drain the coolant into a clean pan. Loosen the clamps on the upper hose.
Instead of struggling to pull the assembly out from inside the engine bay, remove the clips and bolts of the front bumper carefully so you do not twist the paint — this opens a full front view of the radiator core, air ducts, and A/C condenser.
▶ at 05:20 in the video ↗Disconnecting the CVT Heat Exchanger Hoses and 12 mm Crossmember
At the bottom of the radiator are the two thin hoses carrying CVT transmission fluid for cooling. Release the spring clamps with locking pliers (grabbing from the side when space is tight) and pull the hoses off gently — since the metal neck curves upward, only a minimal amount of CVT fluid drips out.
Next, remove the 12 mm bolts of the front metal bar/crossmember and the horn connector, plus the two upper 10 mm brackets securing the radiator. Underneath, it only rests on the two rubber bushings: just lift and pull the assembly straight out the front.
▶ at 10:20 in the video ↗Step by step — Middle: Why Replace the Whole Radiator (and How to Bench Test at 1 Bar)
Practical Lesson: Standalone Upper Tank (~R$ 120) vs. New Radiator (~R$ 444)
In the video, Paulo candidly shows his attempt to save money by replacing only the upper plastic tank/cap: he spent 20 minutes prying up the aluminum tabs with a screwdriver while the old plastic literally crumbled into dust; rodded every tube in the core (even using a VW Brasília oil dipstick, all clear); and bought a new upper tank (~R$ 120).
However, when trying to re-crimp the aluminum tabs by hand with pliers and a hammer (and adapting EVA cord for the gasket), the old radiator leaked under pressure testing. Practical conclusion from the video: buying a complete new radiator (~R$ 444 Pro Cooler for automatic) is much faster, safer, and more reliable than risking re-crimping an old core.
▶ at 15:20 in the video ↗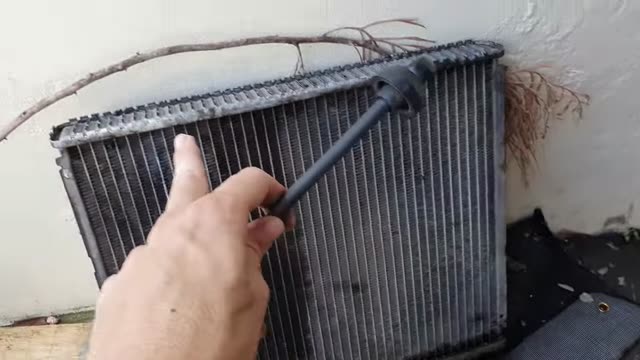
Bench Leak Test at ~1,0 Bar for 2 Hours
Before mounting the new radiator in the car, transfer the cooling fan brackets and run a preventive bench pressure test: seal the necks with an adapted hose connected to the compressor gauge and apply just under 1,0 bar (since the original Honda cap opens at 1,1 bar).
Leave the assembly pressurized for about 2 hours. In the video, the gauge needle did not drop a single millimeter — confirming a 100% airtight seal before putting it back in the car.
▶ at 27:30 in the video ↗Step by step — End: Reassembly, Scanner Bleeding at 91 °C, and Final Check
Seating on Lower Bushings, CVT Hoses, and Crossmember
Place the two rubber bushings on the lower base, seat the new radiator, and fasten the upper brackets. Reconnect the two lower CVT heat exchanger hoses and the lower radiator hose first, with their original clamps centered squarely on the nipples.
Reinstall the front bar (12 mm) and the horn harness/bolt, plug in the cooling fan connectors, and fit the upper hose.
▶ at 33:00 in the video ↗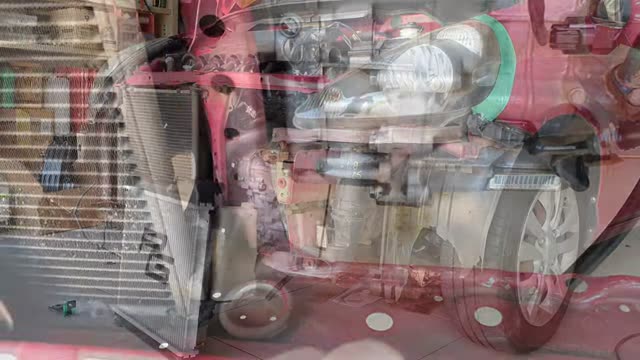
Refilling and Scanner-Monitored Bleeding (70 °C → 91 °C)
Fill slowly through the radiator neck (highest point in the system) using coolant specified for Honda aluminum engines, waiting for initial air bubbles to rise. Wipe any external spills dry and place clean cardboard/newspaper under the car to catch any immediate drip.
Connect the OBD-II scanner and monitor warm-up with the cap off until close to thermostat opening (in the video: at 70 °C and 81 °C the lower hose was still ice cold; at 91 °C the thermostat valve opened slowly and the lower hose warmed up evenly). As coolant begins to expand, install the 1,1 bar cap and let the cooling fan cycle on twice.
▶ at 38:00 in the video ↗Cool-Down, Overflow Tank Level, and Final Bumper Fitment
Let the car cool down completely, check the level at the radiator neck, and set the unpressurized overflow tank between MIN and MAX (since the Honda system automatically draws coolant back in as it cools). Reinstall the bumper, air filter box, and take a road test — in the follow-up weeks later in the video, the result remained 100% dry and stable.
▶ at 41:00 in the video ↗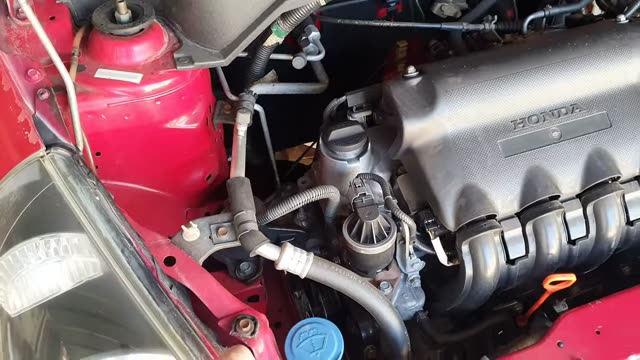
Post-Service Verification Checklist
- CVT fluid level checked hot (60–90 s): To compensate for the drops lost when disconnecting the lower heat exchanger.
- Cooling fan cycling normally after 91 °C: Both hoses (upper and lower) equally hot.
- Overflow tank at the correct level when cold: No leaks under the bumper after the street test.
Frequently Asked Questions (FAQ)
Is it worth replacing only the upper plastic radiator tank on a Honda Fit or the whole radiator?
In practice as shown in the video, when the original plastic is already yellowed and crumbling to dust, prying up the aluminum tabs to swap only the upper tank (~R$ 120) carries a high risk of cracking the core during re-crimping. Buying a compatible new radiator (~R$ 444) is much faster and more reliable.
Is the automatic CVT Honda Fit radiator different from the manual Fit?
Yes. The automatic CVT radiator has two extra metal nipples at the bottom connected to the internal transmission fluid heat exchanger. When buying a new unit, confirm it is the automatic transmission version.
Do you have to remove the bumper to replace the Honda Fit radiator?
Yes, it makes the job vastly easier. There is a structural reinforcement and very tight clearance behind it in the engine bay. Removing the bumper and front bar (12 mm bolts) lets you pull and seat the radiator safely from the front.