


The clutch actuation system on the 1st generation Ford Ka (1997 to 2007) — across models powered by the Endura-E (1.0 and 1.3) and the Zetec Rocam (1.0 and 1.6) — is fully hydraulic. The system consists of the shared brake fluid reservoir (DOT 4), the clutch master cylinder (mounted on the firewall bulkhead coupled directly to the pedal) and the slave concentric actuator inside the IB5 transmission bellhousing.
With time and repeated duty cycles, the internal rubber piston seal loses elasticity. Classic failure signs are: a clutch pedal that loses hydraulic pressure and sinks to the floor without returning, severe resistance when engaging 1st gear and reverse with the engine running, and the definitive visual proof: fluid weeping down the pedal arm and soaking the interior carpet beneath the driver's feet.
Many mechanics consider this repair an absolute ordeal due to the cramped confines under the dashboard and behind the steering column. In this step-by-step technical guide, Paulo demystifies the job, demonstrating the secret trick of removing the driver seat for ergonomic comfort and the one-person vacuum bleeding method executed alone without needing an assistant pumping the clutch pedal.
Critical Safety Alert: Brake Fluid Strips Automotive Paint
- The DOT 4 fluid used in the hydraulic clutch circuit is extremely corrosive and hygroscopic. If spilled onto bodywork or the firewall, flush immediately with copious water. Never rub with a dry cloth, as friction will instantly wipe paint down to bare primer.
- Exercise extreme caution when unclipping the plastic pushrod retaining clip from the pedal pin to avoid cracking the pedal assembly socket.
Wrench and Tool Requirements Table
Scroll horizontally to see all table columns.
| Tool / Equipment | Size / Type | Role in Procedure |
|---|---|---|
| Torx / Hex Socket | Torx T40 or 13 mm | Loosening the 4 floor anchor bolts securing the driver seat mounting rails |
| Box / Combination Wrench | 10 mm | Disconnecting battery, intake box, and master cylinder mounting flange nuts on bulkhead |
| Open-End Wrench | 13 mm | Opening and closing hydraulic bleeder valve on IB5 transaxle bellhousing |
| Precision Slotted Screwdriver / Pick | Fine flat tip | Releasing plastic quick-release retaining clip and spring washer at pedal pin |
| Needle-Nose / Hose Pliers | Curved or straight nose | Loosening spring clamp on master cylinder supply hose from reservoir |
| Handheld Vacuum Pump / Modified Suction Rig | One-way manual vacuum suction | Solo vacuum bleeding of hydraulic circuit without needing a helper |
| Clear Silicone Hose | Internal Ø 4 to 5 mm | Snug fit over transmission bleeder nipple routed into suction bottle |
Replacement Parts and Consumables List
Scroll horizontally to see all table columns.
| Item / Component | Specification / Brand | Quantity | Installation Notes |
|---|---|---|---|
| Clutch Master Cylinder (Pedal) | Ford Ka 1.0/1.3/1.6 (Varga/TRW/Luk) | 1 unit | Verify pushrod length and pin engagement against original unit before bolting in. |
| Hydraulic Brake and Clutch Fluid | Synthetic DOT 4 (sealed container) | 500 ml | Never reuse drained fluid. Always flush with fresh, amber translucent fluid. |
| Flexible Supply Hose | Reinforced nitrile rubber (brake-fluid resistant) | ~30 cm | Replace aged, brittle hose section running between master reservoir and cylinder intake. |
| Hose Spring / Screw Clamps | Stainless steel for 8-12 mm hose | 2 units | Provides airtight seal preventing air ingress into gravity supply port. |
Recommended Torque Specifications Table
Scroll horizontally to see all table columns.
| Fastener Location | Wrench Size | Recommended Torque | Workshop Guidance |
|---|---|---|---|
| Seat Rail Floor Anchor Bolts | Torx T40 / 13 mm | 25 to 30 N·m (2,5 to 3,0 kgf·m) | Critical occupant safety component. Tighten securely in crisscross pattern across all 4 points. |
| Bulkhead Master Cylinder Retaining Nuts | 10 mm | 18 to 22 N·m (1,8 to 2,2 kgf·m) | Tighten evenly between both nuts to uniformly compress rubber sealing gasket against firewall. |
| Bleeder Nipple on IB5 Gearbox | 13 mm | 8 to 12 N·m (0,8 to 1,2 kgf·m) | Delicate plastic-metal body. Snug by hand and tighten only 1/4 turn with wrench. |
Phase 1: Cabin Clearance and Unobstructed Pedal Access
The biggest obstacle reported by DIY mechanics attempting this Ford Ka repair is severe back strain and zero visibility under the dash. The professional remedy is clearing the floor.
Leak Diagnosis and Sinking Pedal Symptom
At the start of the video, Paulo illustrates the classic failure: the clutch pedal went limp and began dripping DOT 4 fluid directly onto the driver footwell carpet. Initially leaking only on steep hills, seal failure progressed until fluid escaped even with the car parked cold.
▶ at 00:15 in the video ↗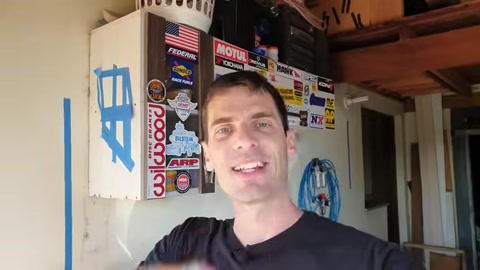
Driver Seat Removal (The Ergonomic Secret)
Rather than contorting outside the door opening, Paulo removes the driver seat entirely. Using a socket wrench on front and rear floor rail bolts, loosen fasteners, unplug any seat belt wiring, and carefully lift the seat out of the cabin without scratching sill paint.
▶ at 01:14 in the video ↗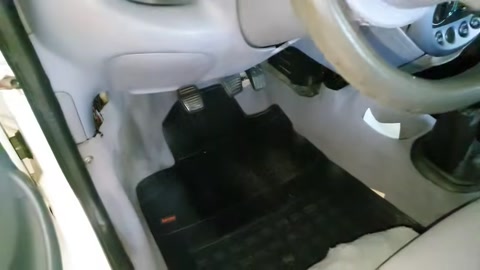
Unbolting Seat Rails and Staging Seat Safely
Slide the seat fully forward to access rear bolts; then slide back to access front bolts. Lift the assembly free and set onto a clean bench or drop cloth. With seat out, the mechanic can lie flat on back on the carpet with a headlamp, looking straight into pedal linkages.
▶ at 02:50 in the video ↗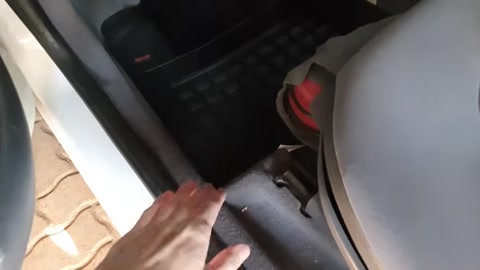
Total Workspace Clearance and Direct Sightline Under Column
With floor clear, observe the coupling where the master cylinder plastic pushrod clips to the upper clutch pedal arm. Paulo demonstrates how this space transforms an awkward struggle into a calm, methodical operation.
▶ at 04:17 in the video ↗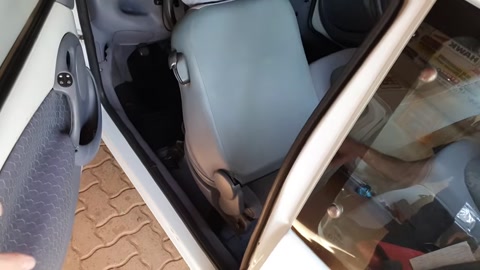
Phase 2: Engine Bay Disassembly and Hydraulic Disconnection
Removing Battery and Air Filter Box in Engine Bay
Under the hood, release intake hose clamp and remove Endura air box. Loosen 10 mm battery clamps, lift out battery and tray. Now you have clear sight of the steel high-pressure hardline and flexible supply hose feeding the cylinder at the bulkhead.
▶ at 09:20 in the video ↗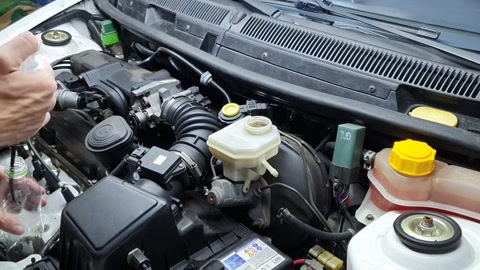
Pushrod Travel Inspection and Pressure Loss Check
Paulo inspects the junction between pushrod and piston: pressing the pedal by hand shows fluid weeping past the rubber boot and total lack of hydraulic pressure pushing fluid toward the transmission slave cylinder.
▶ at 11:59 in the video ↗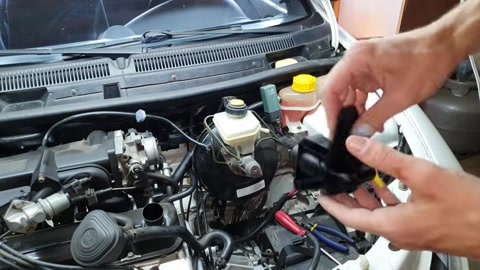
Preventive Water Rinse to Neutralize Corrosive DOT 4
Before cracking open hydraulic fittings, spray water thoroughly across inner bulkhead and surrounding painted areas. Water dilutes polyethylene glycol in DOT 4 fluid and instantly neutralizes corrosive risk to automotive primer and paint.
▶ at 15:11 in the video ↗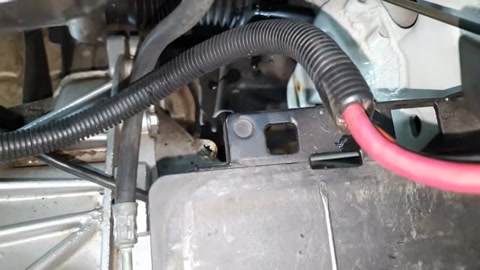
Releasing Pushrod from Pedal Pin (The Golden Trick)
The plastic pushrod attaches to the pedal pin via a quick-disconnect retaining clip with twin locking ears and a spring washer. Using a fine-tip slotted screwdriver, gently pry retaining tabs outward without overbending. Slide pushrod off pin, relieving all cabin linkage tension.
▶ at 18:13 in the video ↗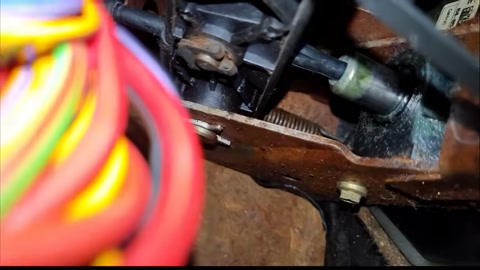
Disconnecting Hydraulic Line and Supply Hose
In the engine bay, loosen hose clamp on the reservoir supply line and plug end to prevent emptying. Next, pull retaining hairpin clip securing high-pressure steel tube to master cylinder outlet and withdraw hardline carefully to preserve rubber O-ring seal.
▶ at 20:13 in the video ↗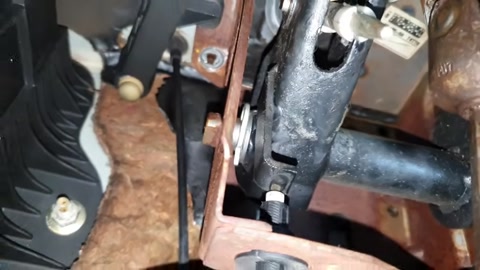
Phase 3: Installing New Cylinder, Coupling, and Bleeding
Removing Old Master Cylinder and Component Comparison
With lines free, remove the two 10 mm flange nuts at bulkhead and withdraw old cylinder. Paulo compares old part with brand new unit: check bolt spacing, hose barb diameter, pressure pipe quick-release port, and exact plastic pushrod length.
▶ at 25:20 in the video ↗
Installing and Torquing New Master Cylinder to Bulkhead
Feed new pushrod through firewall opening toward cabin interior. Seat mounting gasket against sheet metal and tighten 10 mm nuts to a moderate torque of 18 to 22 N·m. Tighten evenly so rubber gasket seals completely, keeping out rain water and engine compartment heat.
▶ at 30:04 in the video ↗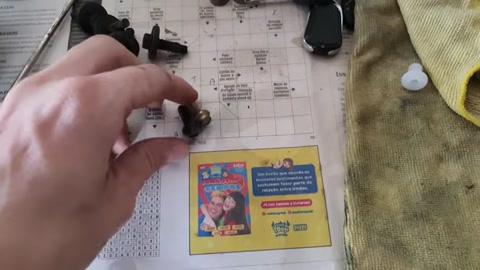
Re-Coupling Pushrod Eyelet to Pedal with Retaining Clip
Back inside, align pushrod eyelet over pedal pivot pin. Fit spring washer and push plastic retaining clip until it snaps firmly locked. Cycle pedal gently by hand to verify pushrod travels straight without binding or lateral deflection.
▶ at 32:05 in the video ↗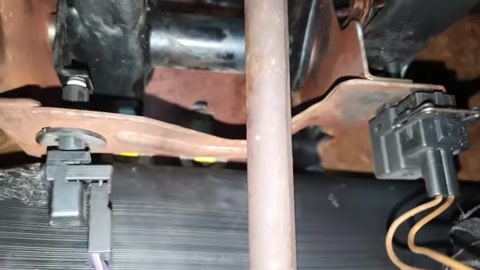
Replacing Rubber Supply Hose with Fresh Clamps
Because original hose was hardened and cracking at ends, Paulo replaces section with new brake-fluid resistant nitrile hose and installs two fresh screw clamps. Connect hose to upper inlet and click high-pressure line into lower port with metal retaining clip.
▶ at 35:04 in the video ↗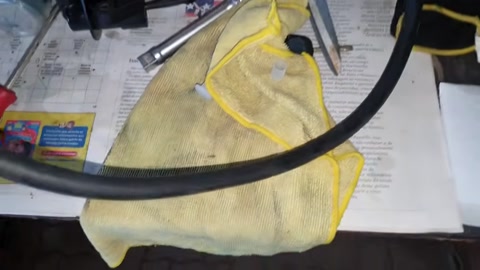
Locating Bleeder Valve on IB5 Gearbox Casing
On the IB5 transaxle bellhousing, locate slave concentric bleeder nipple (covered by black protective rubber cap). Remove dust cap and fit 13 mm open-end wrench over bleeder hex flats.
▶ at 36:04 in the video ↗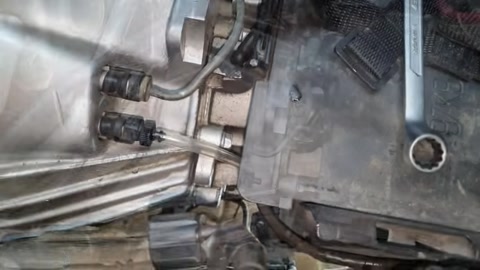
Vacuum Bleeding Procedure (Solo Operation without Helper)
With no assistant to pump pedal, Paulo connects clear silicone hose to a handheld vacuum suction bottle. Crack bleeder open 1/2 turn with the 13 mm wrench and pump trigger: vacuum draws old dark fluid and aerated bubbles until clean, bubble-free fluid flows smoothly.
▶ at 37:02 in the video ↗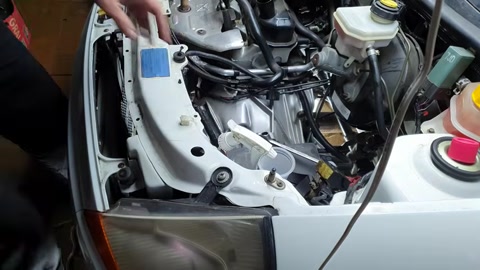
Closing Bleeder and Verifying Firm Pedal Resistance
Tighten bleeder screw with the 13 mm wrench (snug torque of 8 to 12 N·m) and refit rubber cap. In the cabin, press clutch pedal: hydraulic pressure is immediately restored, pedal returns with strong spring force, and clutch disengages crisply.
▶ at 39:00 in the video ↗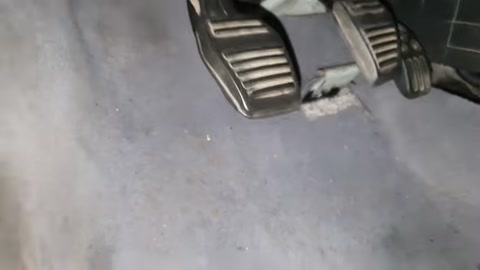
Engine Bay Reassembly, Seat Installation, and Road Test
Rinse bleeder area with water once more to wash away fluid traces. Reinstall battery tray, battery, and intake air box. Reinstall driver seat tightening 4 rail bolts to a torque of 25 to 30 N·m. Start vehicle, shift smoothly into 1st gear and reverse, and perform a successful road test.
▶ at 40:01 in the video ↗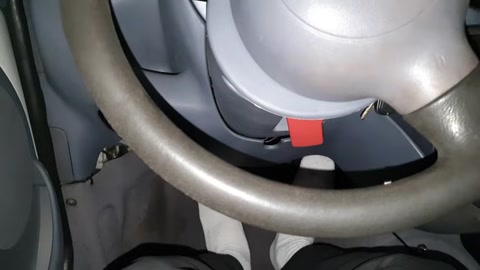
Essential Workshop Tips from Paulo's Bench
- Do not attempt to replace the master cylinder with driver seat installed: Spending 10 minutes removing 4 seat bolts will save you 2 hours of painful back cramps and frustration reaching under steering wheel.
- Beware of shared brake/clutch reservoir chamber: On the Ford Ka, brake reservoir supplies clutch through an upper partition baffle. If fluid drops too low during bleeding, brakes remain safe, but clutch circuit will suck air. Keep fluid topped up to MAX throughout.
- Carpet cleaning is urgent: If fluid dripped onto carpet, mist with water and mild detergent then wet-vac dry, or rinse acoustic underlay with fresh water so corrosive fluid does not rot foam or create persistent chemical odors.
Frequently Asked Questions (FAQ)
Why does the Ford Ka clutch pedal stick to the floor and fail to return?
When internal master cylinder seal ruptures, piston cannot build hydraulic pressure to push fluid to concentric slave actuator, and lack of hydraulic backpressure leaves pedal stuck down. Gears will grind or refuse to engage with engine idling.
What clutch fluid specification is used in the Ford Ka?
The Ford Ka utilizes DOT 4 brake fluid in the shared reservoir for both braking and hydraulic clutch actuation. Always use fresh synthetic fluid from a recognized brand (such as Bosch, Varga, or ATE) from a sealed bottle.
Can you bleed the Ford Ka clutch circuit alone without an assistant?
Yes. The method shown by Paulo uses silicone tubing connected to a one-way vacuum suction bottle attached to the 13 mm bleeder nipple on the IB5 transaxle. Vacuum draws fluid continuously while you top up reservoir, eliminating any need for an assistant pumping pedal.