


The cooling system of the Honda Fit 2004 (1.4 8v i-DSI engine, GD1 chassis) features characteristic Japanese engineering: a compact all-aluminum block, high-flow water pump, precise thermostat, and a non-pressurized atmospheric expansion tank. Unlike European vehicles (where the expansion bottle holds system operating pressure), on the Fit the pressure-relief vacuum cap is threaded directly onto the radiator neck.
Over years of use, old coolant loses corrosion inhibitors and alkaline reserve, leading to oxides, sludge, and scale that diminish radiator heat rejection and can seize the thermostat. In this DIY home garage guide, Paulo demonstrates how any owner can perform a complete radiator coolant flush safely, applying the spill-free funnel technique to purge 100% of air pockets without spilling a single drop on the floor.
Absolute Safety Rule: Never Open a Hot Radiator
Severe Burn Hazard from Pressurized Steam: The cooling circuit operates above 90 °C under pressures up to 1,1 bar. Opening the radiator cap and draining must strictly begin with the engine 100% cold (preferably after sitting overnight). Never unscrew the radiator cap while the engine is warm.
Environmental and Pet Safety Warning: Monoethylene glycol in antifreeze is toxic if swallowed, carrying a sweet scent dangerous to pets. Catch all drained coolant in sealed jugs and take to an authorized recycling drop-off.
Tools and Equipment Table
Scroll horizontally to see all table columns.
| Tool / Accessory | Size / Type | Role in Procedure |
|---|---|---|
| Radiator Bleeding Funnel Kit | Spill-free kit with conical adapters | Airtight seal on radiator neck allowing coolant filling while air pockets escape |
| Combination or Long-Nose Pliers | Jaws taped or cloth-padded | Gentle opening and closing of plastic drain petcock underneath radiator |
| LED Inspection Worklight | High-intensity focused beam | Illuminating lower drain petcock area and checking fluid level in reservoir |
| Coolant Drain Basin | Minimum capacity 5 liters | Clean collection pan beneath radiator to measure drained volume accurately |
| Large Suction Syringe or Siphon Bulb | Capacity 100 to 200 ml | Evacuating and cleaning residual coolant from bottom of expansion reservoir |
| Clear Vinyl Hose | Inner Ø 8 mm (~50 cm) | Slipped over petcock spout to route drained coolant cleanly into basin |
Fluids and Technical Specifications
Scroll horizontally to see all table columns.
| Item / Component | Technical Specification | Recommended Quantity | Workshop Notes |
|---|---|---|---|
| Organic Long-Life Coolant | Tirreno Organic Long Life (or Honda Type 2) | 2 Liters concentrate (or 4L ready-to-use) | OAT technology free of silicates, borates, and nitrites for aluminum engines. |
| Demineralized / Deionized Water | Automotive / lab-grade pure water | 3 to 4 Liters | Never use tap water; minerals and chlorine cause accelerated galvanic corrosion. |
| OEM Radiator Cap | Relief calibration: 1.1 bar (108 kPa) | 1 unit (if spring fatigued) | Inspect rubber sealing gasket for cracks to ensure full circuit pressurization. |
Step-by-Step Procedure: Honda Fit Coolant Flush and Bleeding
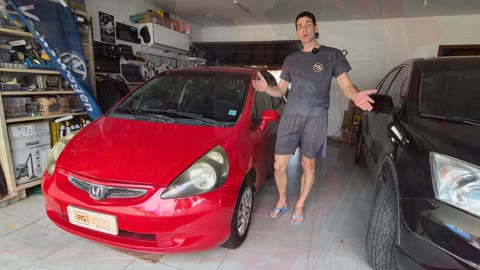
At the start of the video, Paulo introduces his 2004 Honda Fit and demystifies cooling maintenance at home. The goal is a clean, safe, and professional job using simple tools: approved Tirreno organic coolant, demineralized water, and a spill-free funnel kit.
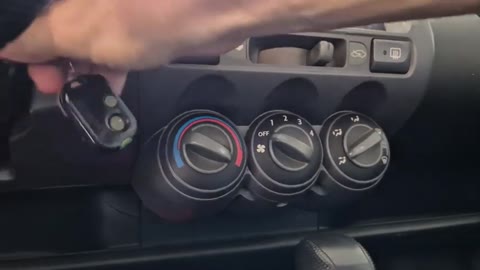
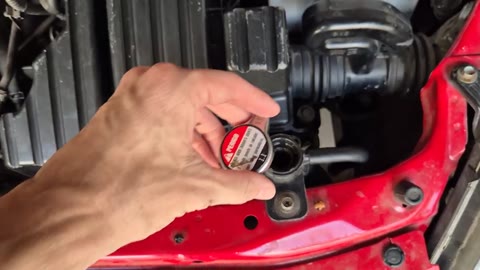
Paulo emphasizes that work must begin with the engine completely cold to the touch. Pop the hood and inspect the radiator cap (yellow warning sticker, calibrated to 1.1 bar). Leave cap closed initially to hold vacuum and control drain speed.
Paulo explains Honda's design: the translucent side overflow bottle is atmospheric (snap-on cap without pressure seal). When coolant expands with heat, the radiator metal cap relieves excess into bottle; as engine cools, vacuum siphons fluid back.
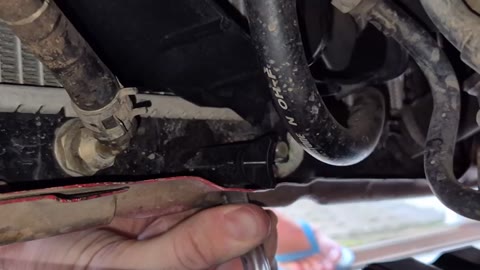
Peering beneath front bumper on passenger side of radiator lower tank, locate the plastic butterfly drain petcock. Position the 5-liter collection basin directly under the drain spout.
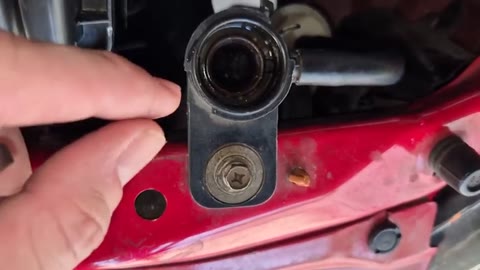
Turn plastic petcock counter-clockwise (approx. 2 to 3 turns, without unthreading completely to avoid dislodging sealing O-ring). Because top cap is closed, fluid drains in a smooth, steady stream without splashing outside basin.
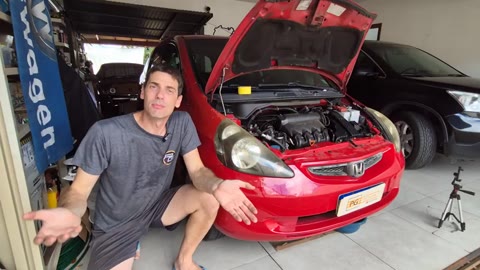
Paulo discusses a common question: Honda manuals mention a rear block drain bolt. In a home garage without hoist, that bolt is awkward to access with high stripping risk. Paulo explains radiator draining combined with demineralized flush renews system safely and effectively.
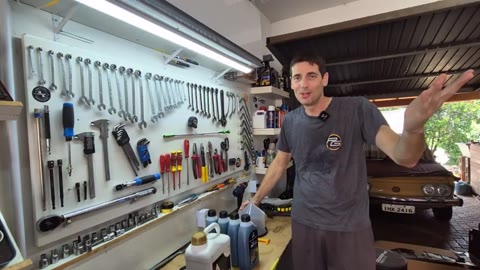
Remove top metal radiator cap. Atmospheric air rushes in, speeding fluid into a full stream. Empty plastic overflow bottle using suction syringe. Once drainage subsides to a drip, hand-tighten lower petcock snug (do not use heavy pliers that crack plastic).
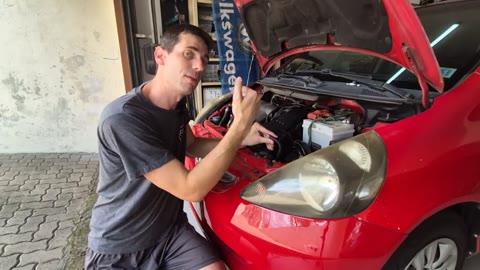
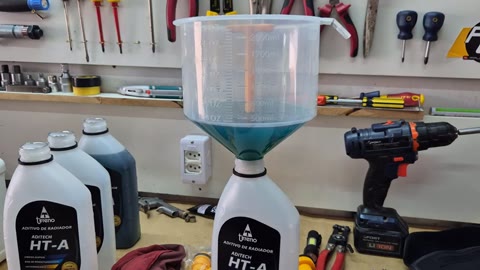
Paulo assembles the spill-free funnel: choose rubber adapter and locking metal cap matching Fit radiator neck. Lock adapter into place and press clear funnel on top. This elevates fill level above engine, allowing air bubbles to rise without spills.
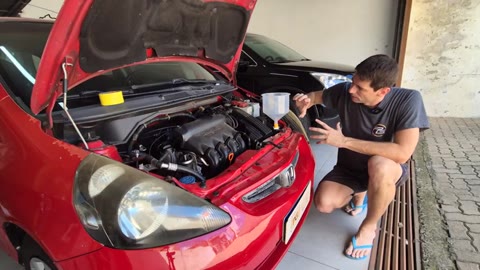
Pour Tirreno concentrated organic coolant alternated with demineralized water at a 40% to 50% ratio. Fill slowly until fluid reaches about 1/3 height of clear funnel. Also fill overflow reservoir to MAX line.
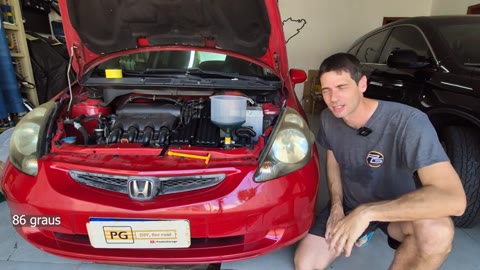
Start engine and let idle. As operating temperature rises, thermostat opens and coolant flows through block. Air bubbles rise steadily through funnel. Keep engine idling until radiator fan cycles on and off twice, ensuring total air purge.
Insert plug rod into funnel bottom to seal leftover fluid and lift funnel away cleanly. Reinstall original metal radiator cap ensuring it locks completely. Check level in overflow bottle between MIN and MAX. Road test and verify no leaks at bottom petcock.
Workshop Tips and Cooling Best Practices
Never Over-Tighten Plastic Drain Petcock with Tools
The radiator petcock is nylon with an elastomeric O-ring. Tighten using finger strength or gentle touch of padded pliers. Forcing with wrenches cracks plastic ears, forcing radiator replacement.
Importance of Correct Coolant Concentration (40% to 50%)
Monoethylene glycol raises boiling point above 108 °C and prevents freezing, while lubricating water pump mechanical seals and protecting aluminum head against cavitation. Never run straight tap water.
Frequently Asked Questions (FAQ)
How many liters of coolant does the Honda Fit 2004 take?
Total cooling system capacity for the Honda Fit 1.4 manual/CVT is approximately 4,0 to 4,5 liters. A standard gravity drain from radiator petcock and overflow tank drains roughly 3,2 to 3,5 liters.
Can I mix green and pink coolant with existing fluid?
No. Never mix differing chemical technologies (traditional inorganic IAT with organic OAT or hybrid HOAT). Mixing triggers gelatinous precipitation that clogs radiator cores and heater matrix tubes.
What is the recommended coolant change interval?
With high-quality Long Life organic coolant (like Tirreno or Honda Type 2), replacement is recommended every 40.000 km or 2 to 3 years of service.