


The braking system of the VW Brasília 1979 (powered by the air-cooled 1600 boxer engine) employs classic Volkswagen air-cooled architecture: fluid reservoir mounted in front luggage compartment, long flexible supply hoses routed down through the central tunnel to the dual circuit master cylinder mounted beneath pedal assembly, solid front discs, and rear self-adjusting drums with star adjusters.
Over decades of driving, old hygroscopic brake fluid degrades inside metal hardlines, rots braided rubber hoses, and generates dark gelatinous sludge capable of completely choking fluid flow to rear wheels. The brake pedal develops excessive spongy travel or drops to the floor. In this epic workshop video featuring over an hour of real garage troubleshooting, Paulo carries out a complete overhaul and unclogging of Brasília 1979 brakes, overcoming plugged hardlines, renewing hydraulic hoses, and teaching correct bleeding order to restore total braking confidence.
Critical Safety Warning: Hydraulic Braking Circuit
Non-Negotiable Vehicle Safety: Brakes are your vehicle's single most critical active safety system. Never use generic fuel or vacuum lines to feed master cylinder: use only special reinforced nitrile or silicone hoses certified for DOT 4 brake fluid. Ordinary hoses dissolve in days under brake fluid, bursting under pressure.
Mandatory Jack Stand Support: When servicing rear wheels and underbody, chock front wheels and support body on load-rated jack stands placed on chassis frame tubes or spring plate mounts. Never work beneath a vehicle supported only by hydraulic jacks.
Tools and Equipment Table
Scroll horizontally to see all table columns.
| Tool / Accessory | Size / Type | Role in Procedure |
|---|---|---|
| Flare Nut / Tubing Wrench | 11 mm | Opening and torquing flare fittings on steel brake hardlines at master cylinder |
| Box / Open-End Wrench | 7 mm or 8 mm | Opening and closing bleeder valves on front calipers and rear wheel cylinders |
| Socket / Ratchet Wrench | 13 mm | Unbolting dual master cylinder mounting bolts from bulkhead and pedal bracket |
| Rear Axle Nut Socket | 36 mm (or wheel wrench 19 mm) | Removing wheels and rear brake drum assemblies |
| Medium Screwdriver and Needle-Nose Pliers | Slotted tip / curved nose | Unhooking and reinstalling brake shoe return springs and turning star adjusters |
| Fine Steel Wire / Guitar String | Diameter 0,8 to 1,0 mm | Mechanical unclogging of steel brake hardlines blocked by hardened fluid sludge |
| Suction Syringe and Silicone Tubing | 60 ml with tubing Ø 4 mm | Clean evacuation of front reservoir and assisted one-person bleeding |
Parts, Fluids, and Replacement Components List
Scroll horizontally to see all table columns.
| Item / Component | Technical Specification | Quantity | Workshop Notes |
|---|---|---|---|
| Synthetic Brake Fluid | DOT 4 (Varga, Bosch or ATE) | 1 Liter (2 bottles of 500 ml) | Fresh fluid with dry boiling point above 230 °C. Never mix with old contaminated DOT 3. |
| Special Brake Fluid Supply Hose | Inner Ø 7 mm (rubber resistant to DOT 4) | ~1,5 meter | Gravity feed from front reservoir down through tunnel to dual master cylinder. |
| Dual Circuit Master Cylinder | Varga / TRW Ø 20,6 mm (VW Brasília) | 1 unit | Complete new unit including blue plastic inlet grommets and fresh internal seals. |
| Rear Wheel Cylinders | Varga 19,05 mm (air-cooled VW rear) | 2 units (if oxidized) | Mandatory replacement in case of seized pistons or torn dust boots. |
| Stainless Steel Hose Clamps | Range 10 to 16 mm | 4 units | Ensures airtight clamping over plastic reservoir and master cylinder spouts. |
Step-by-Step Procedure: VW Brasília Complete Brake Overhaul
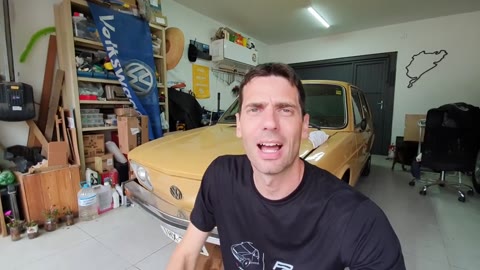
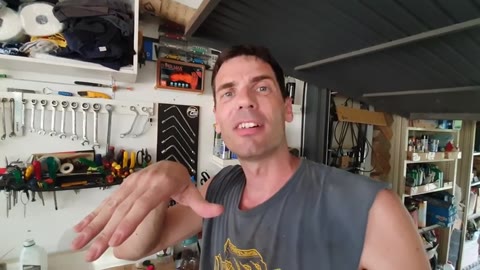
At the start of the video, Paulo introduces his 1979 VW Brasília and diagnoses severe brake failure: pedal sinking to floor without resistance, inoperative rear brakes, and visible black fluid weeping along aged feed hoses.
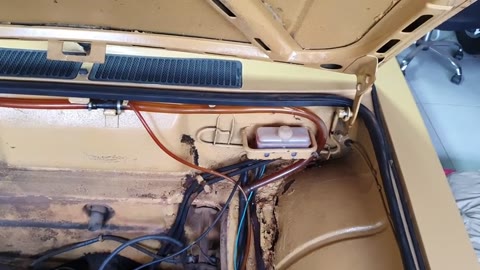
Opening the Brasília front luggage trunk, Paulo inspects the translucent fluid bottle mounted on the inner fender. Original braided rubber hoses descending into tunnel are petrified, cracked, and leaking corrosive fluid onto floor sheet metal.
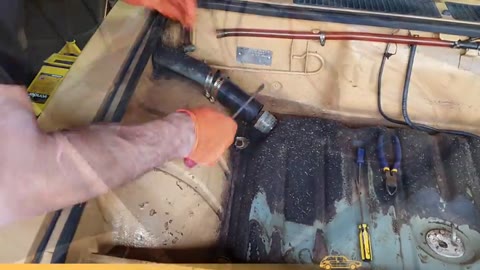
Using a suction syringe, evacuate remaining fluid from front reservoir. Beneath driver pedal box, disconnect flexible hoses from plastic master cylinder elbows. Pad surrounding floor with thick rags to protect cabin paint from drips.
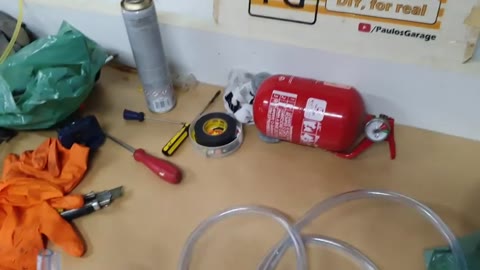
Using an 11 mm flare nut wrench, unthread steel hardlines from master cylinder body. Then loosen the 13 mm mounting bolts and slide cylinder out. Teardown inspection reveals heavy internal pitting and swollen seals.
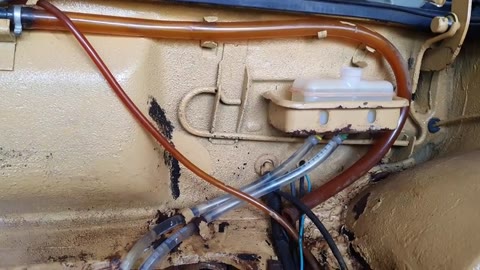
Paulo fishes new reinforced brake fluid hoses through body tunnel from front trunk down to pedal box. Seal sheet metal access holes with rubber grommets or automotive silicone to prevent metal edges from chafing hoses under vibration.
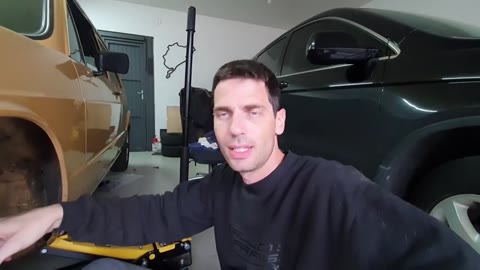
With chassis supported on jack stands, pull off rear wheels. Slide off brake drums to expose shoe mechanism. Paulo discovers thick cake of friction dust and evidence that hydraulic pressure was never reaching wheel cylinders.
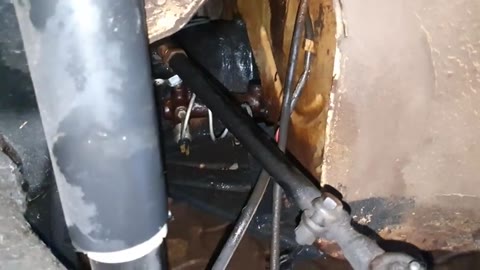
Check thickness of bonded shoe linings and condition of return springs. Peel back rubber dust boots on wheel cylinders: if fluid leaks past piston cups or pistons are seized by rust, replace cylinders immediately.
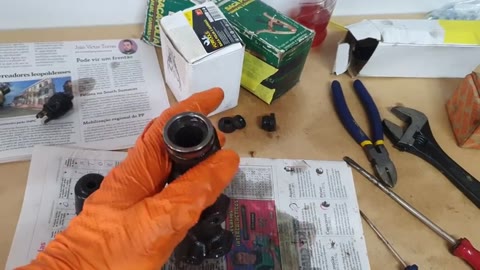
The critical repair moment: opening rear bleeders produced zero fluid even with pedal pumped hard. Paulo uncouples steel lines to find decades of old fluid turned into solid rubbery tar. Using a flexible steel wire and solvent under pressure, Paulo patiently clears hardlines centimeter by centimeter until clear passage is restored.
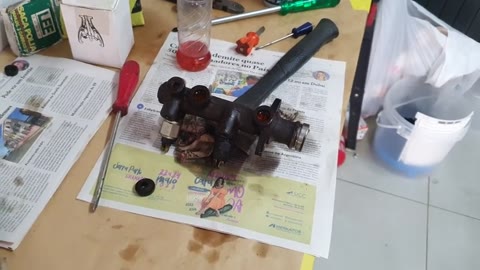
Wash backing plates with solvent or soapy water to remove all friction dust. Lightly apply copper paste to shoe contact pads and turn star adjusters with a flat screwdriver until drum slips on with slight lining drag.
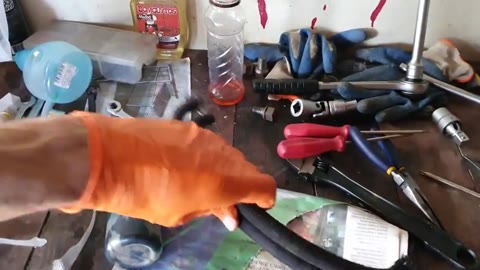
Install new dual master cylinder onto bulkhead under pedal cluster using 13 mm bolts. Thread steel hardlines into ports by hand before tightening with 11 mm flare nut wrench to protect brass flare seats.
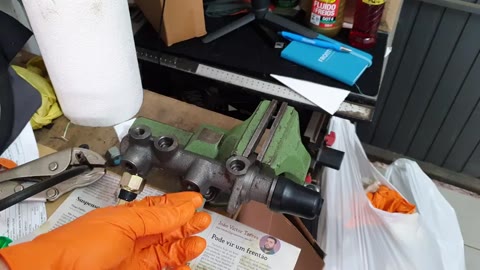
In front luggage trunk, fill reservoir with fresh DOT 4 fluid from sealed container. Fluid feeds downward through fresh tunnel hoses into dual master cylinder chambers. Allow few minutes for gravity to purge air from hoses.
Follow classic air-cooled VW bleeding sequence: start at right rear (furthest from master cylinder), proceed to left rear, then right front, finishing at left front. Using clear vinyl tubing submerged in fluid jar, bleed until fluid flows crystal clear without air bubbles.
With air purged, depress brake pedal: hydraulic pressure builds immediately at top of stroke with zero sponginess. Adjust handbrake cables at center console lever to lock on 3 to 4 clicks. Road test approved: the Brasília stops straight, firmly, and safely!
Essential Advice for Air-Cooled Volkswagen Brakes
Strict Bleeding Order Is Non-Negotiable
On air-cooled VWs (Beetle, Brasília, Variant, Karmann-Ghia), bleeding must strictly proceed from the hydraulically furthest corner: 1º Right Rear → 2º Left Rear → 3º Right Front → 4º Left Front. Reversing this order traps air in the dual master cylinder chambers.
Adjust Star Wheels Before Final Bleed
Always adjust rear drum star adjusters before bleeding. If shoes sit too far from drum, excessive pedal travel will mask true hydraulic pressure.
Frequently Asked Questions (FAQ)
What is the difference between single and dual master cylinders on Brasília?
Brasília models from 1977 onwards utilize a dual master cylinder, splitting hydraulics into independent front and rear circuits. If one hose bursts, the vehicle still retains 50% braking capacity on opposite axle.
Why does aged brake fluid turn into thick black sludge?
Brake fluid is hygroscopic (absorbs moisture from atmosphere). Over years, water reacts with steel lines and iron wheel cylinder bores, oxidizing metal and degrading polyglycol base into thick sludge that plugs bleeder ports and pipe bends.
Which fluid is best for 1979 Brasília: DOT 3 or DOT 4?
While factory manuals originally specified DOT 3, it is highly recommended today to use synthetic DOT 4, which has a higher boiling point (resisting brake fade under heavy heat) and superior corrosion inhibitors, while being 100% compatible with original rubber seals.